API Action
Facilitate dynamic HTTP requests within workflows
What is the API Action node?
The API Action node is a powerful tool within your workflow that executes HTTP requests, supporting both GET and POST methods. This node is essential for integrating external APIs directly into your workflows, allowing for real-time data fetching and interaction with external services. Users can configure the node to target custom or predefined URLs, send additional headers, and specify request bodies for POST requests, making it a highly versatile component in any automated process.
How to use it?
To effectively utilize the API Action node, follow these detailed steps to configure and integrate it into your workflow:
-
Place the API Action Node: Drag and drop the API Action node onto your workflow canvas from the node library.
-
Configure URL Settings:
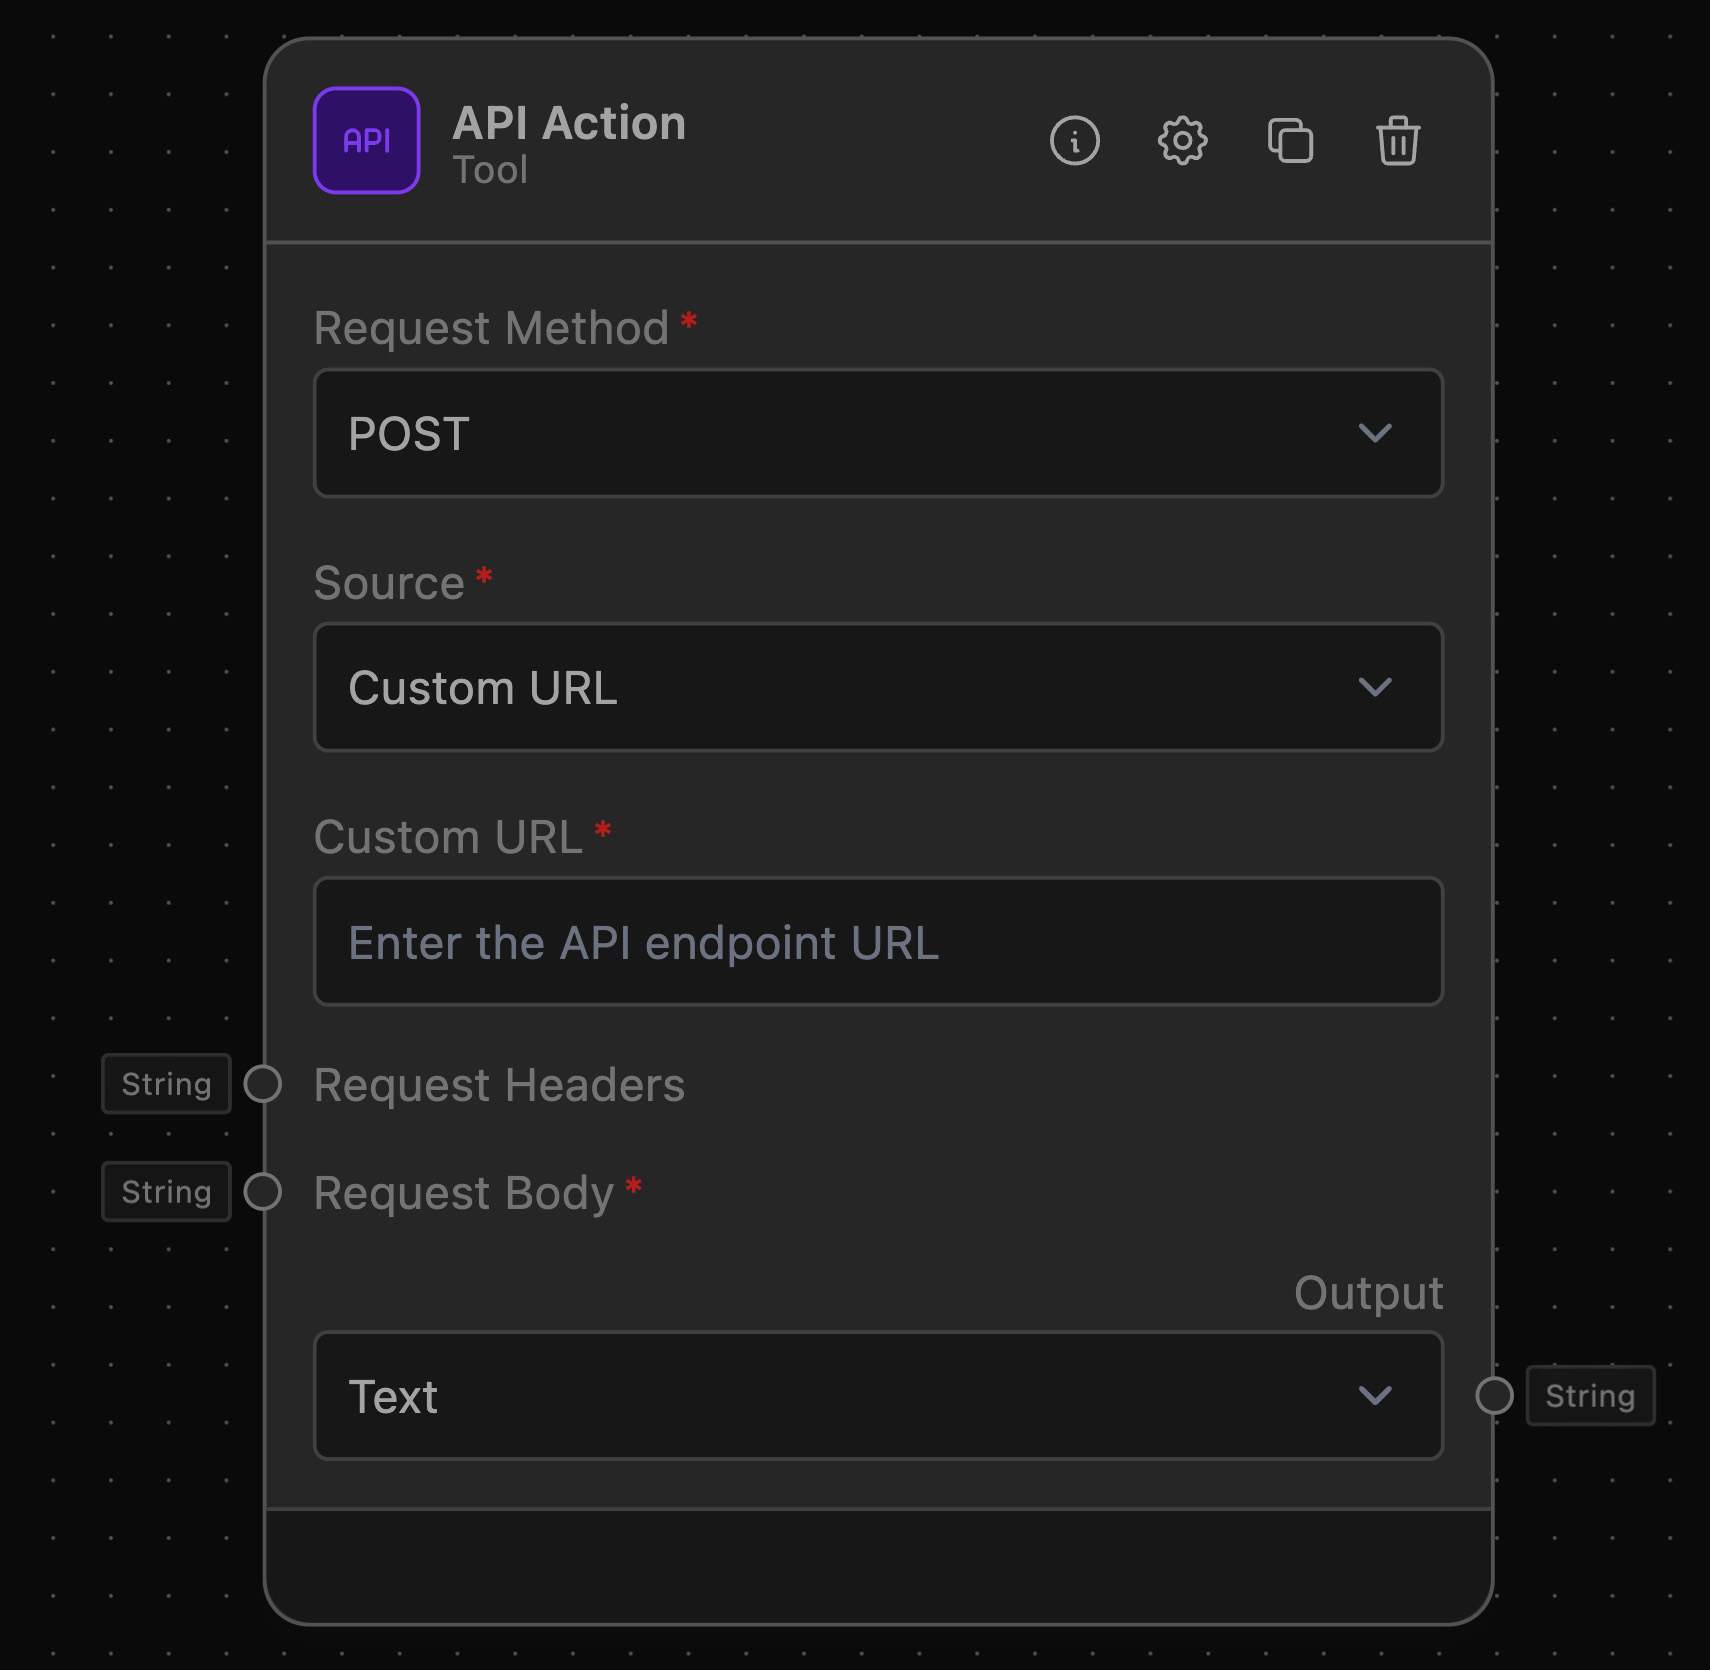
- Request Method: Select either
GETorPOSTas the method for your HTTP request. This setting determines what additional configurations may be required (e.g., request body for POST). - URL Source: Choose
Custom URLto manually enter a URL, orExternal URLif the URL will be dynamically determined based on the output from another node. - Custom URL: If using
Custom URL, directly input the endpoint URL where the API request will be sent.
- Request Method: Select either
-
Set Headers and Body (For POST requests):
- Headers: Add HTTP headers as key-value pairs if your API requires them (e.g., Content-Type, Authentication tokens).
- Body: For POST requests, define the request body. This can be a static JSON, form-data, or any other format your API accepts. You can also dynamically generate the body using data from previous nodes in the workflow.
-
Connect Input Anchors: If your API endpoint URL, headers, or body needs to incorporate dynamic input from other nodes, connect the respective output anchors of those nodes to the input anchors of the API Action node.
-
Execute and Test: Save your workflow and execute it to test the API Action node. Ensure the node is correctly set up by reviewing the response from the API, which can be directed to subsequent nodes for further processing.
Example of usage
Example Task: Process user input through an external API and leverage OpenAI's GPT-4 for response enhancement.
Objective: Create a seamless flow from user input through external data processing to AI-driven text enhancement.
Step-by-Step Setup
- Text Input Connection:
- Link the output of the Text Input Node (user's text) directly to the body input of the API Action Node.
- API Setup:
- Configure the API Action Node with the URL of the API, select
POSTas the method, and ensure headers like Content-Type are set if required by the API.
- Configure the API Action Node with the URL of the API, select
- Response Handling:
- Connect the API Action Node's output (API response) to the OpenAI Node, configuring the latter to interpret the response as a prompt for GPT-4.
Useful Resources
- HTTP request methods: Learn more about what GET and POST methods are and when to use them.
- Introduction to APIs: This IBM guide offers a comprehensive overview of how APIs work, which can enhance your understanding of integrating them into workflows.